
Hi there! you're here because you are wanting some beautiful jewellery from your placenta! but it is frozen...booooo!!!
The good news is, you STILL CAN have that frozen placenta turned into a beautiful keepsake, its easy and you don't even need a dehydrator or a freeze dryer.
Below are the simple steps, with pictures, to help you preserve your placenta for postage so we can get cracking on making your beautiful keepsake.
For this you will need the following:
. Frozen or fresh placenta
. Gloves
. Cutting board
. Sharp knife
. Gloves
. Bleach for cleaning and sterilising your benchtops and equipment
. 2 x plastic glad bags
Let's get started!!
Grab that amazing placenta from the freezer!

There is no need to defrost your placenta at all, just let it sit to have it defrosted just enough so it is easy to slice off a small amount with a sharp knife.
Get a sharp knife and a cutting board.

A sharp knife makes a world of difference when cutting through the frozen placenta.
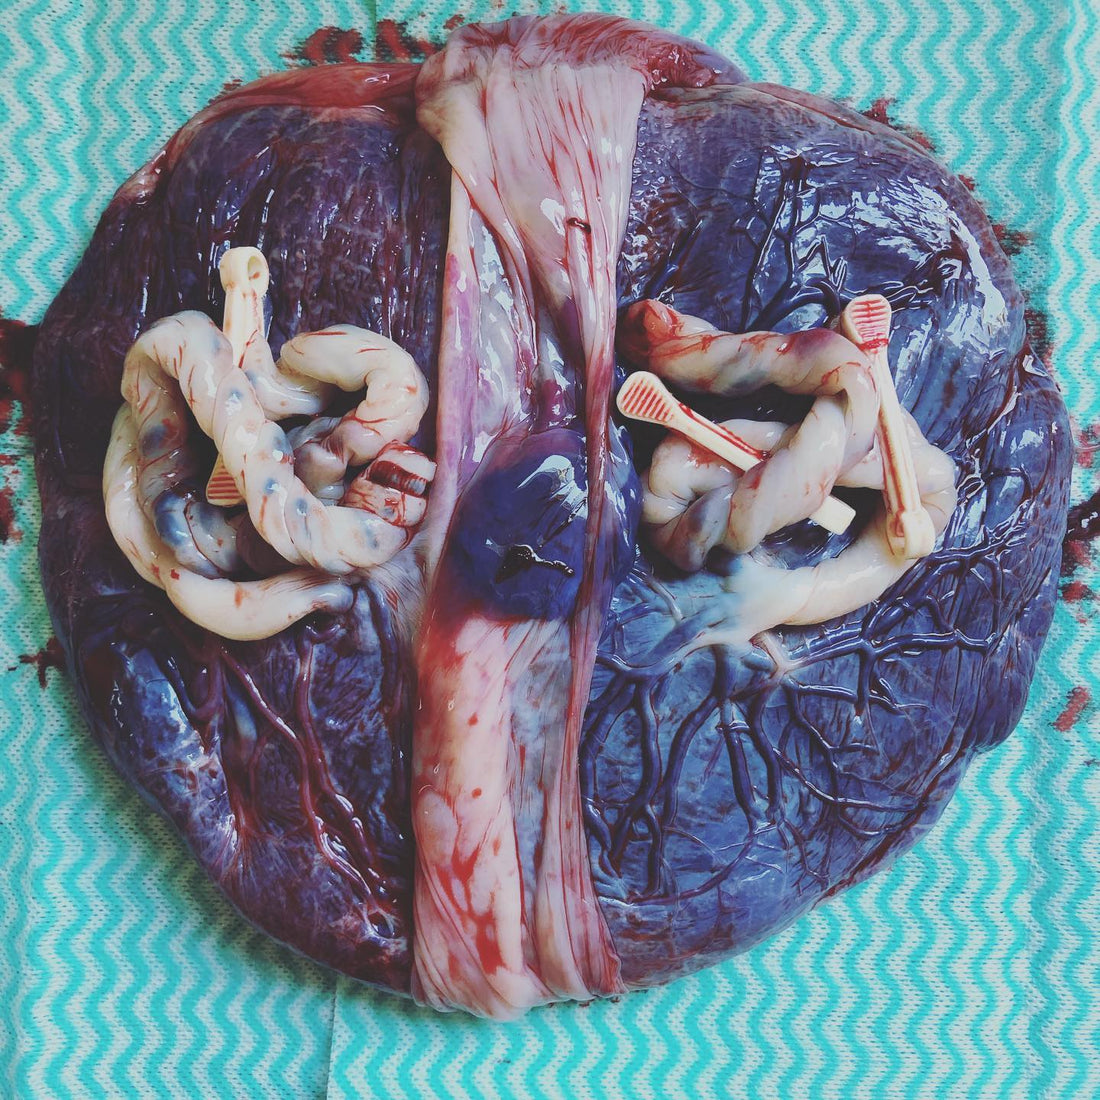
Slice a small amount of placenta from the "meaty' part of the organ, you can use the above picture as a guide of how much is needed.
Get slicing!
 Slice your placenta into thin slices, the thinner you make them the quicker the drying process will be.
Line your baking tray with baking paper

Line a baking tray with baking paper and spread the sliced placenta evenly onto the tray.
You are almost done!

Place the tray into the oven, making sure it is on the middle shelf.
Set your temperature

Set your oven to the lowest temperature and turn the oven fan on, if you don't have a fan, don't worry, just rotate the tray halfway through the process.
Grab a tea towel

Grab a clean tea towel and roll it up, place it in-between the oven door, this allows the oven to be left ajar a little, you don't want to cook the placenta, you want to dehydrate it.
Your job is almost done!

Leave the placenta to dry completely, you will know when the placenta is ready to come out of the oven when you bend a small strip and it "snaps" in half, if the placenta is bendy when you bend it, then it isn't quite ready and needs to go back into the oven.
Time to package it

Now that the placenta is dehydrated, it is important to let it completely cool before following the next steps, you dont want condensation building up in the plastic bag.
Package it

Grab yourself some food zip lock bags, they dont have to be food grade at all, just as long as they have a zip lock.
Now do it again!

Now you have safely sealed it in ziplock number one, bag it again inside another zip lock, and your ready to go!.
We will do the rest in our studio, no need to grind it into a powder, thats what you pay me for.
Now all you need to do be sure to steralise your bench tops and equipment with bleach, you will also need to place the quipment in the dishwasher, it is important that you do this before preparing your next meal in your kitchen, wash your hands and then GO AND PLACE YOUR ORDER ...YAYYY!!
For further instructions on where to post your inclusions, head to our FAQ page, we look forward to your order!